Wednesday, November 27, 2013

11/27/2013: A Glossary of Things I've been Doin'

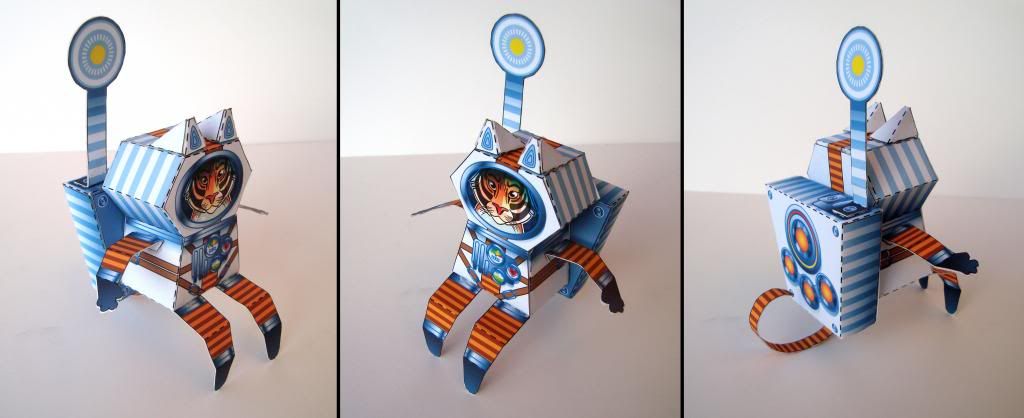
Astro Tiger
Howdy y'all, might as well throw out some updates before turkey day. In case ya didn't know there's a new paper toy on Etsy here.

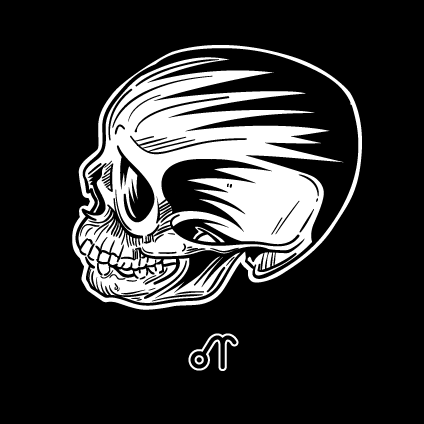
A Skull
Gotten into digital inking for whatever the reason. Most likely gotta go faster in the visual development department. Drew a few skulls, the above was the most psychedelic, so I thought to share it.

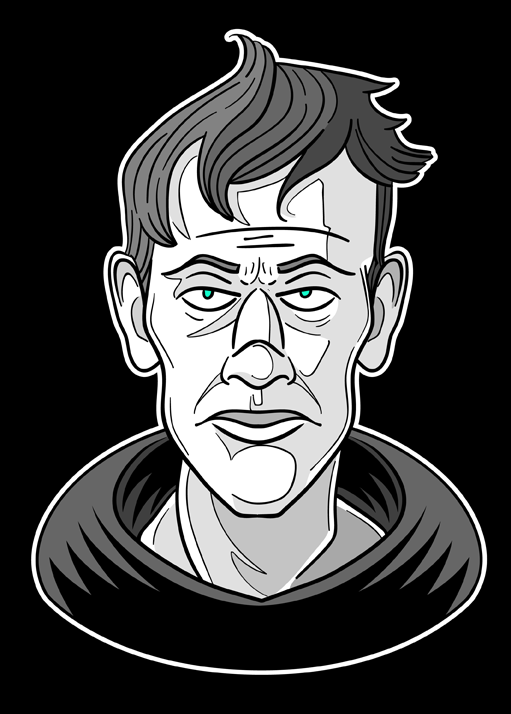
A Face
Took some sketches from last month and made a grey soulless monster like above - a teenage hoody white-walker. o_o No, no, no, no, not all of them are icemen - just this one.

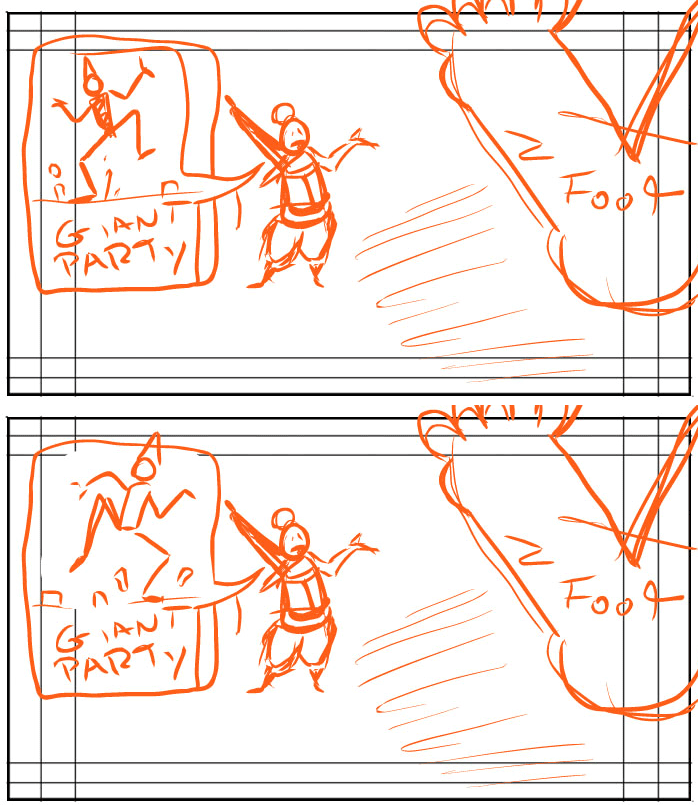
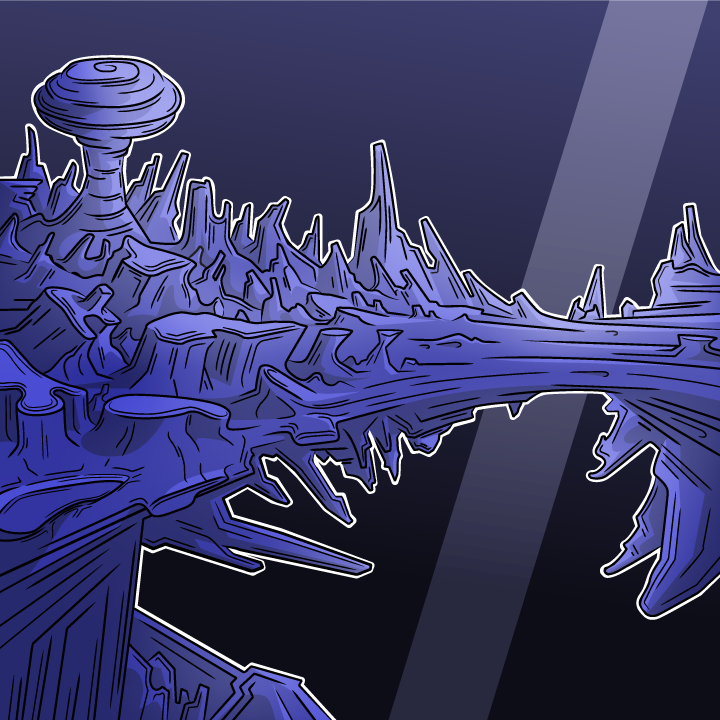
COAG Thumbnail No. 218
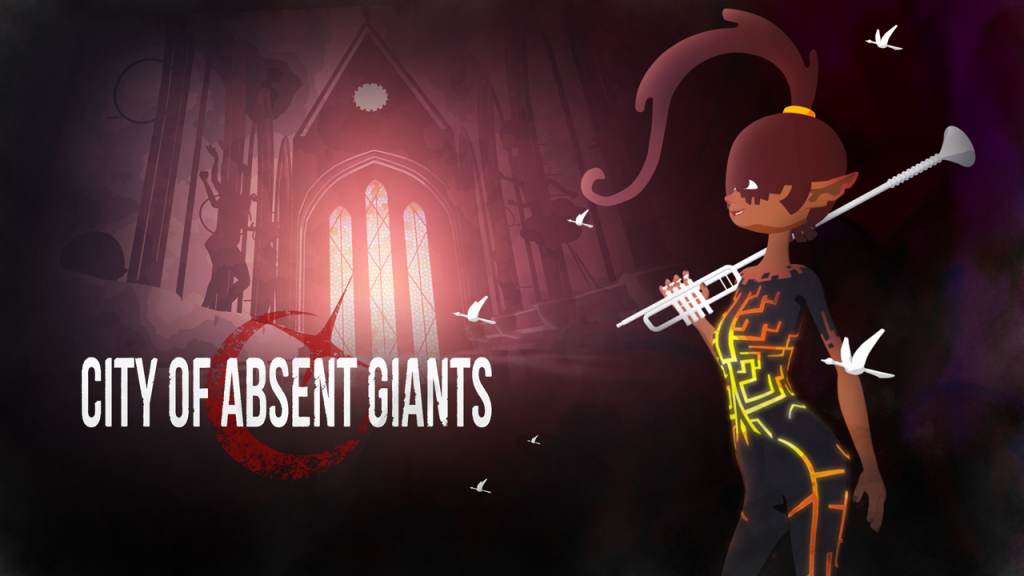
Speaking of quick digital inking lets talk about City of Absent Giants. The story thumbs are for the most part done as of October. Quick and to the point - I got a visual story ready to go on to the concept stage. Now that I can itemize what I need as opposed to what I might need. Composition should be the direction not pretty drawings.

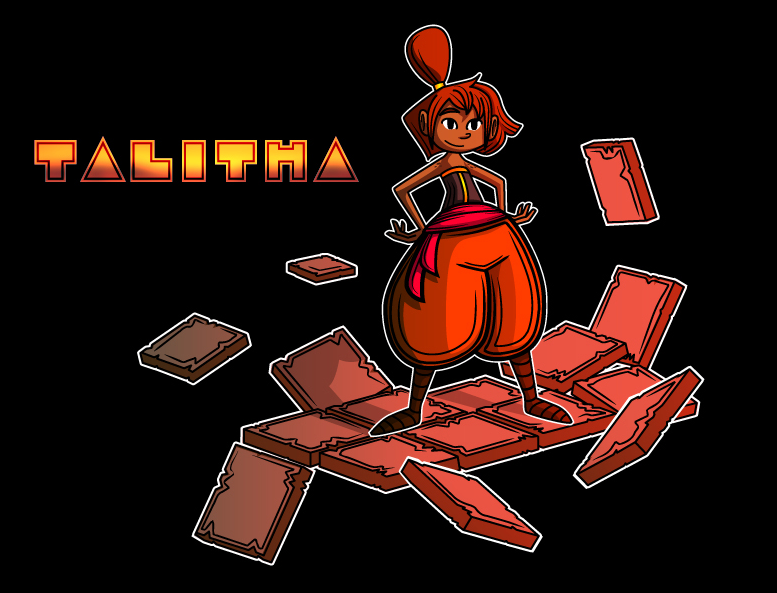
The main character.
Concept I did back in October - Talitha the central character in this fairytale looks a lot different from her original design from a year ago. She's shorter, got some color, and got some sweet poofy pants! 

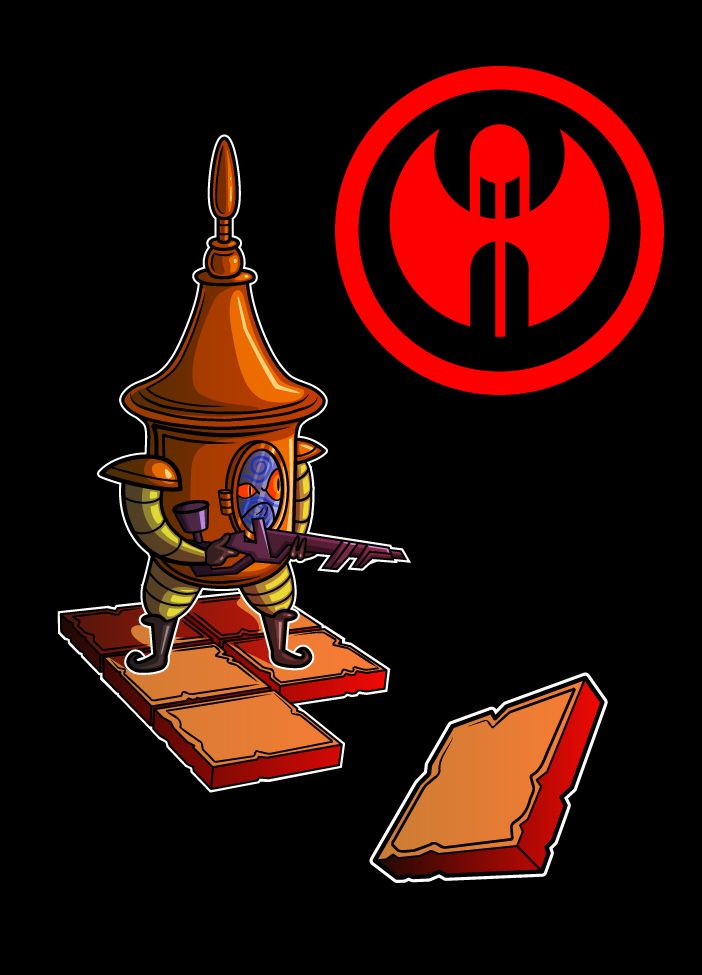
One bad fellow who means business.
One of the many ambiguous antagonists from the short. This early concept makes him appear shorter than he is in some of my more recent charts. The floaty floor tiles are to blame. Oh well.

More to come.

Friday, October 4, 2013

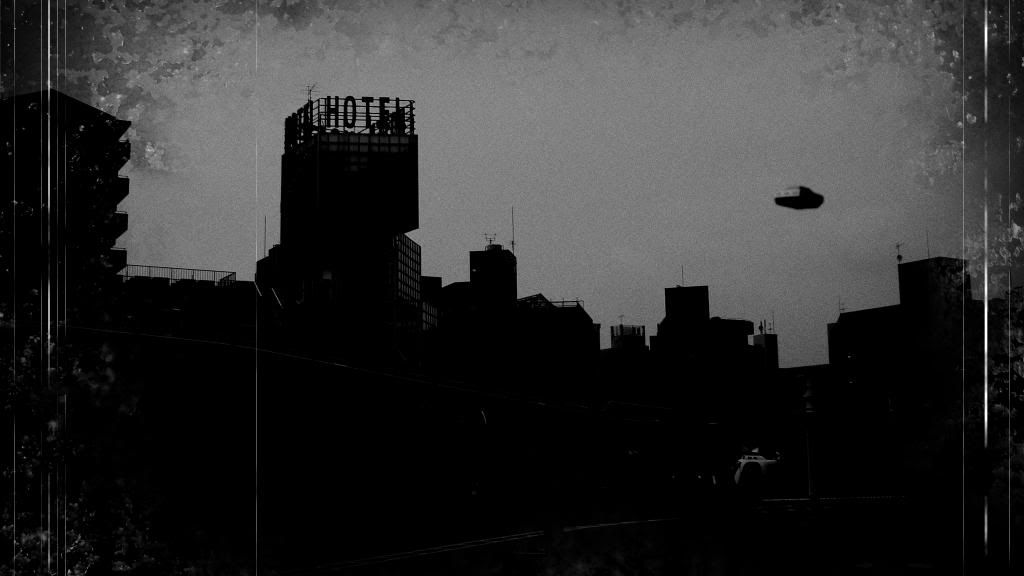
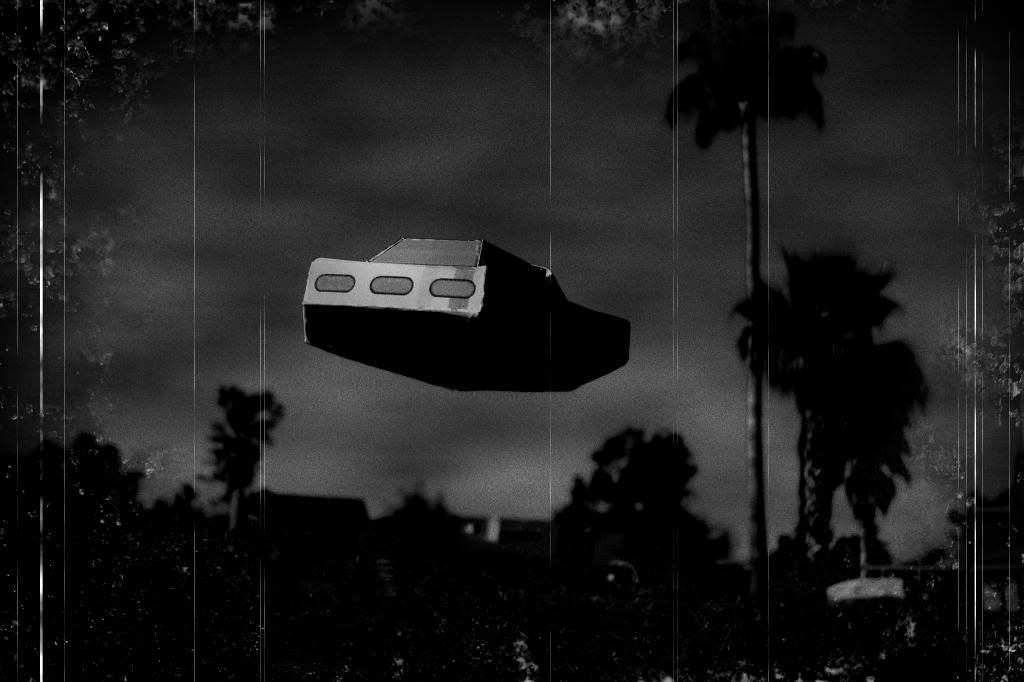
10/4/2013: UFOs are following me


I didn't notice it until later.
.... but UFO's have followed me home.

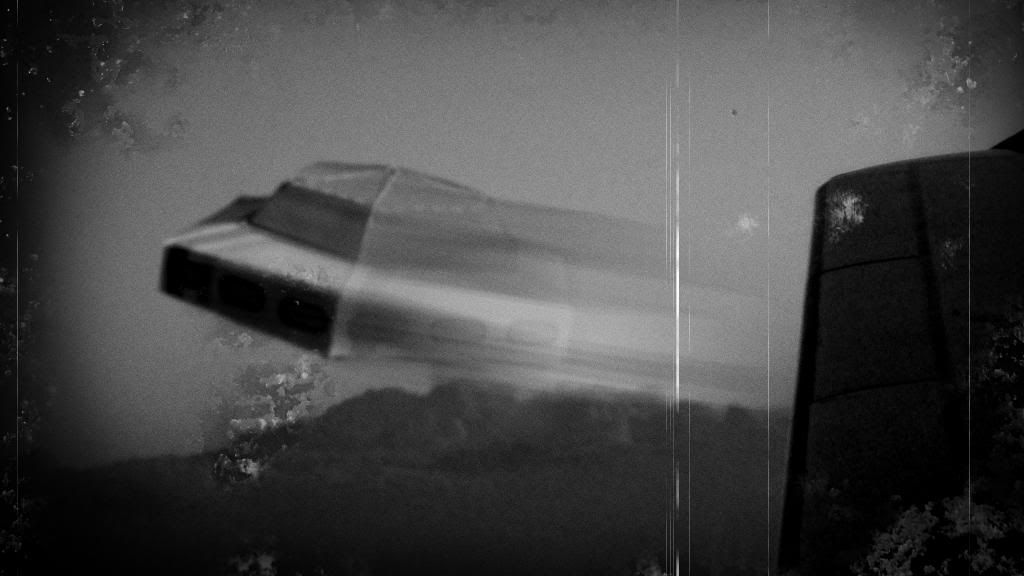
In the air somewhere over New Mexico.

Now why am I taking black and white photos of these alien space craft?

One in Georgia by my apartment

Truth be told I'm older than I look. Maybe.... -_-

Somewhere I forget exactly where - they are that frequent.

Or maybe these photos are like blade runner or something...

I don't know, they are just taking up imaginary store space, so come and access a four pack or a single of your choice today.


Friday, September 27, 2013

9/27/2013: Metaluna

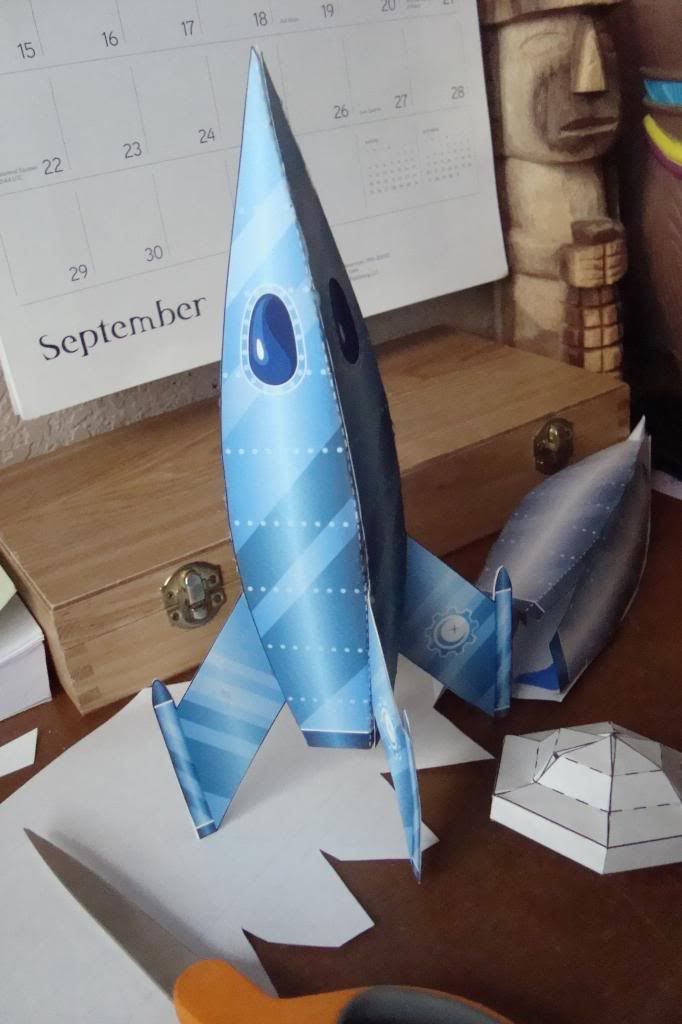
Metaluna prototype pictured, never mind the UFO
So there is now a companion to the Cosmo Queen paper toy. It will be up sometime within the first week of October. I'm also doing a UFO four pack that should be up for sale around the same time.

Friday, September 20, 2013

9/20/2013 : Our shop "LlamaLegs" is open on Etsy

Llama Legs?!

      Officially as of today the shop is now open. We got four things at the moment, but there will be more to come. It is at: http://www.etsy.com/shop/LlamaLegs  --- There's also a new tab on this blog that links to the shop as well.


Monday, September 9, 2013

9/9/2013: Exploration of Papercraft

Spelunkin'
I have been pretty active recently not that you could easily tell. I get weird about sharing private work especially when that work is connected to unfinished projects. City of Absent Giants is going through some rewrites : the core story is fine, but the visual presentation needs work -  (hence their absence).

So as we make our way below the first order of business we find paper craft lurking in the depths.

Sometime at the beginning of summer I got into paper craft - they will soon be made available through Etsy. Here is a sampling:
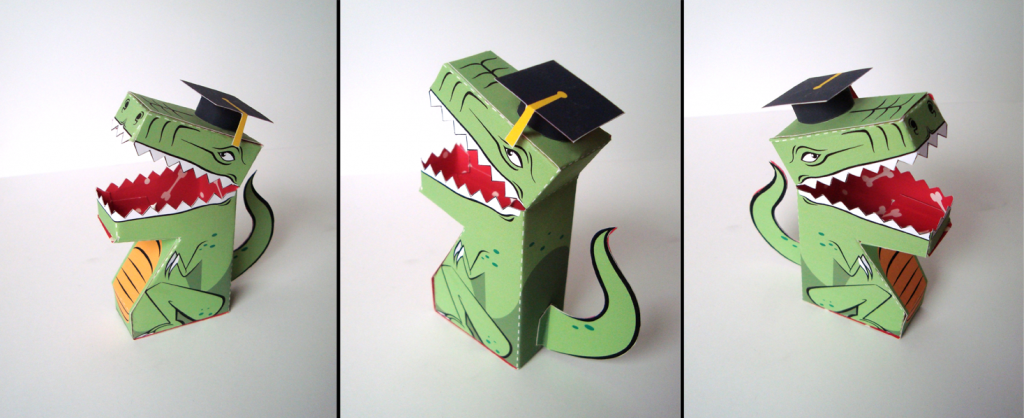
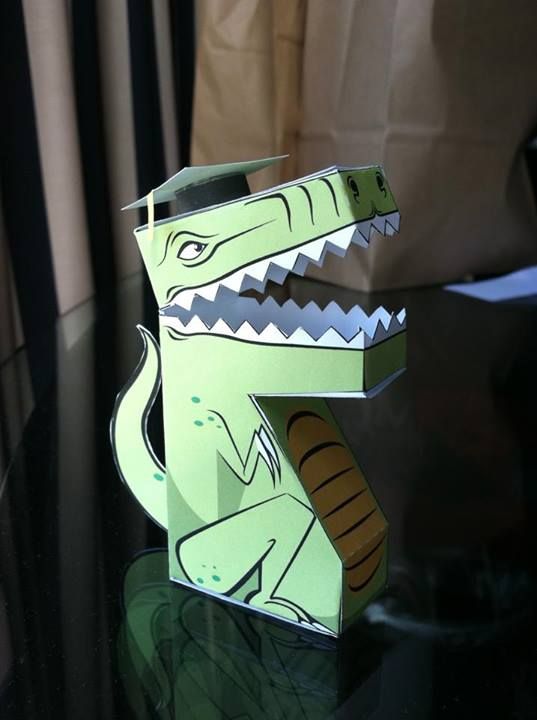
Graduate Dinosaur
Made for my sister's mortar board on graduation. A slight update from the original.  

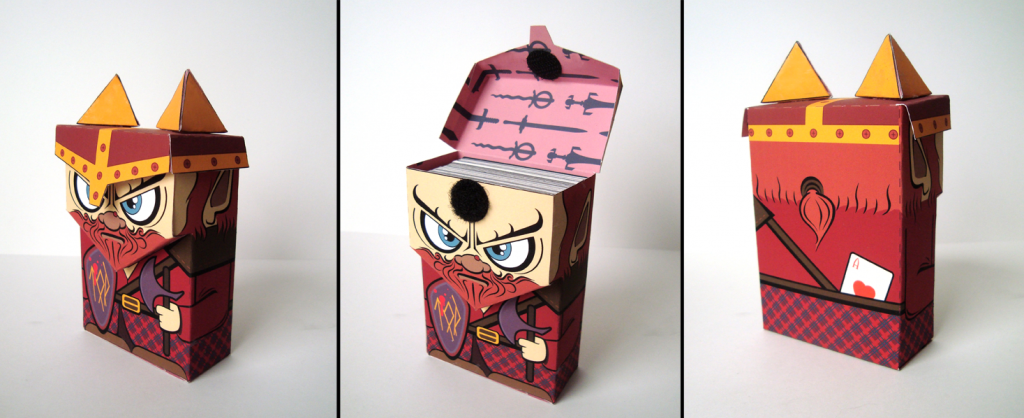
Dwarven Gambler
A friend renewed my interest in Magic: The Gathering over the summer. Made a card case to reflect a red mana deck inside. You can store tokens in his face extrusion.

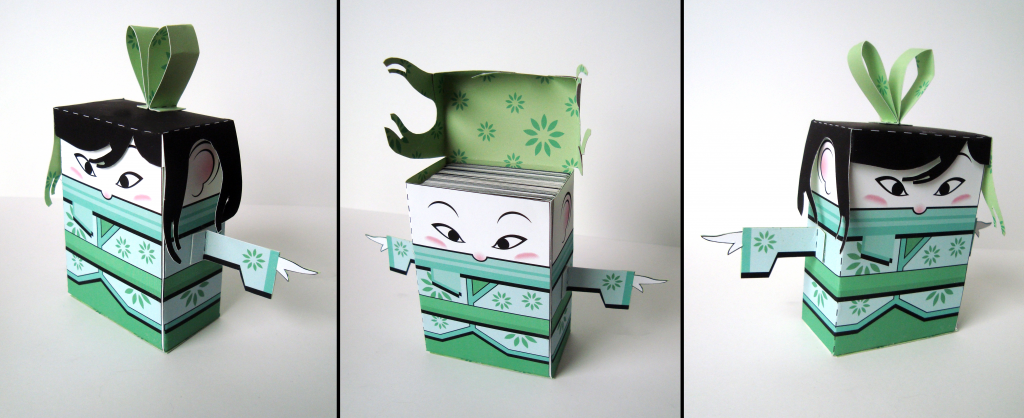
Evergreen Snow Girl
There is a theme here, guess what mana? Though the designs are not limited to MTG it is just what is inside them now.

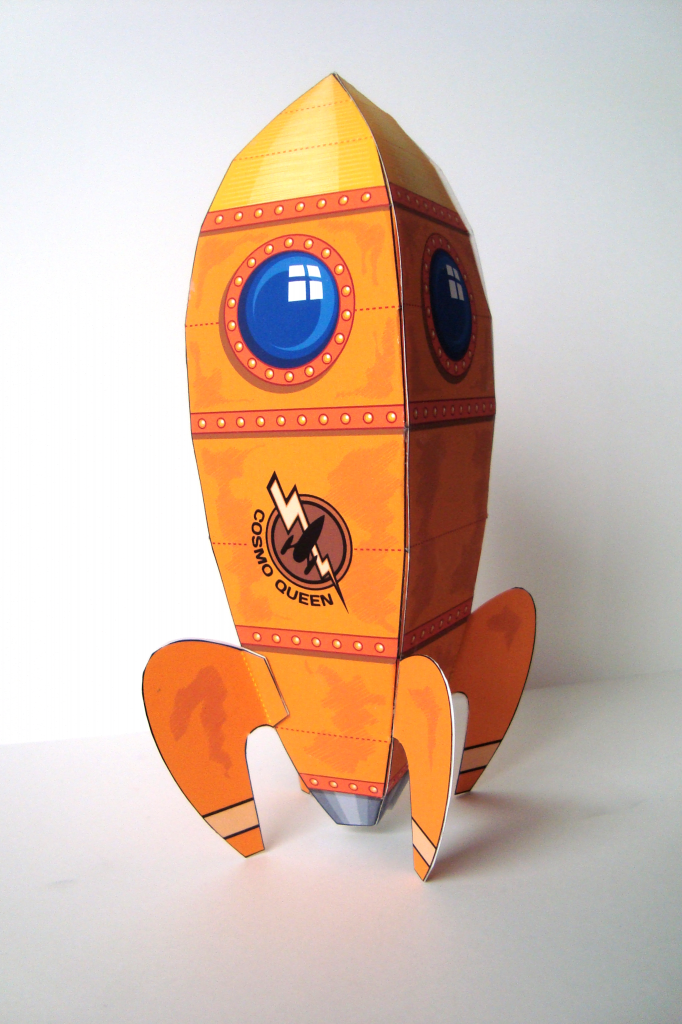
The Cosmo Queen
Inspired by Stand By for Mars' rocket ship the "Space Queen." The "COSMO QUEEN" is a riveted retro rocket roaring from the space age of futures past. I'll probably do a rocket based off Destination Moon to complement it.

Tuesday, August 20, 2013

Update 8/20/2013

Howdy all, been meaning to update this blog for awhile. 
I've been up to a lot lately. Attended SIIGRAPH this year, saw all manner of strange and wonderful things. Went to Seattle gave my sister the below:

Graduate Dinosaur
I'm doing some paper craft designs for download off Etsy. There's more than just the dino we got: rocket ships, fantasy card cases, and more. I'll post a link when it comes time to open.

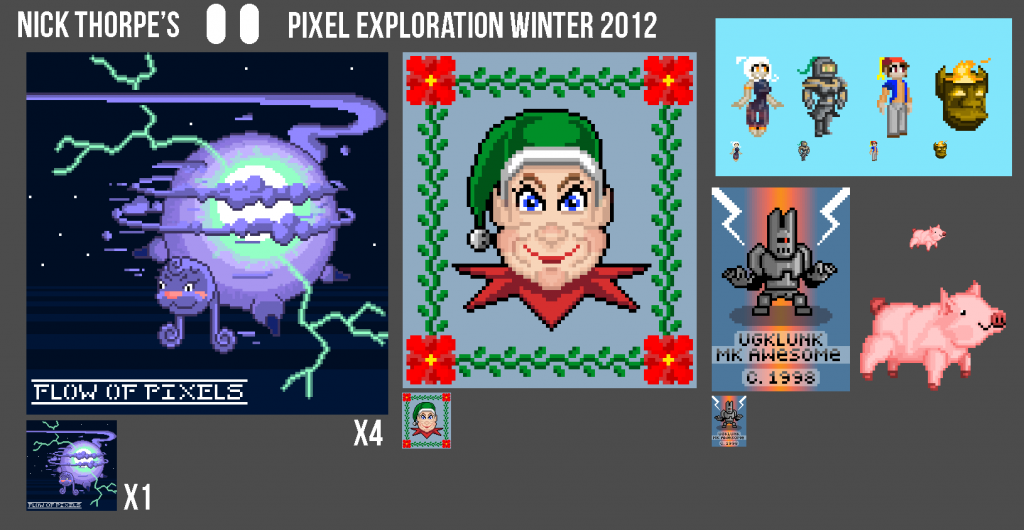
Pixel Exploration
Sometime after CTN I started doing pixel art. I also felt a need to draw more. What I did at the time sat around for some reason - so I'm sharing it now. 

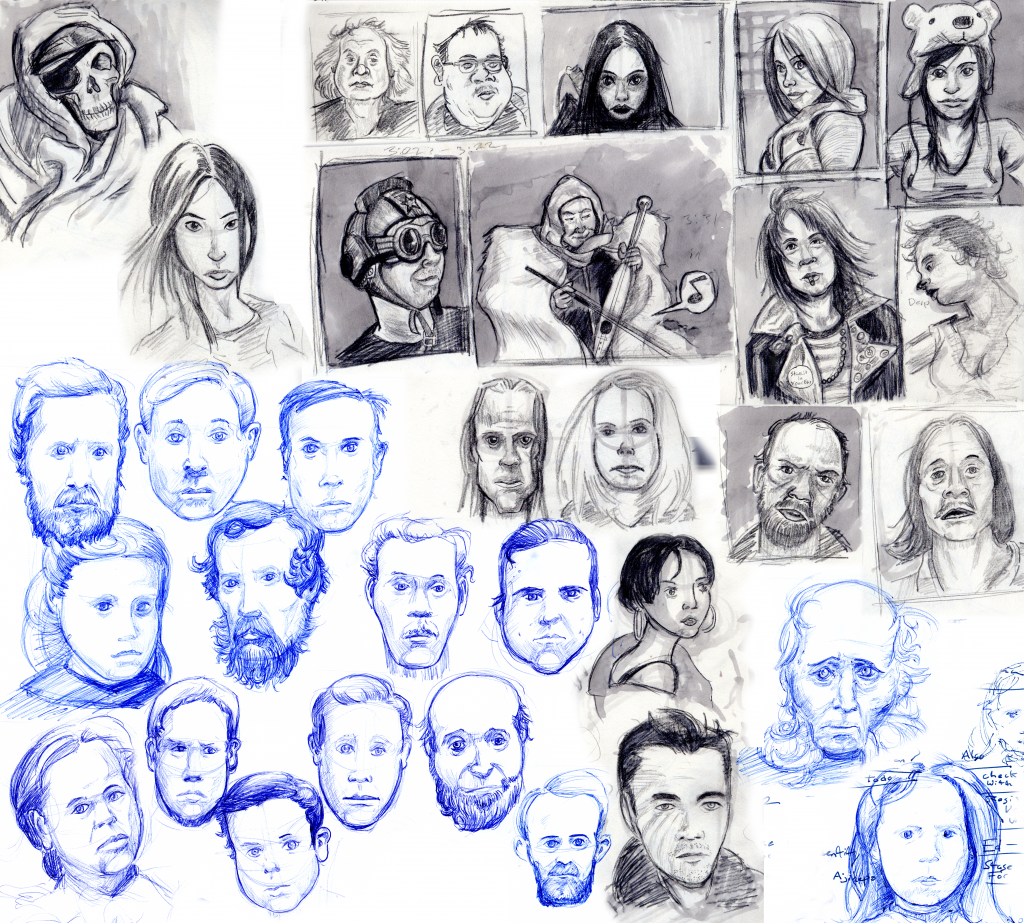
Sketch Dump #1

I solemnly swear to draw and post more. Or do and post more often.  I guess that's the moral of the story.

Sunday, April 14, 2013

4 / 14 / 2013 Update Big Project Little Project

Today I look back at two projects that have been done in the last two weeks.

How to make a shooting star?
City of Absent Giants met its first deadline. What this deadline entailed was how the heck am I gonna approach this project? How is it going to be visually presented? The myriad of technical problems had to be answerable. I know more now than I did two months ago.

This is true of all projects, but it is the big ones that make you really think. Even though I'm currently happy with the results I have reservations. With answers instead of assumptions it is now my task to reapply what I now know. 

Recently I completed a short 3-day project for The University of Washington's Japanese Student Association. A quick ad for their upcoming Matsuri held later this week.


The project began through my sister. I was busy with City of Absent Giants at the time, so I asked her to draw me a storyboard and characters. The flustered Journalism Major did her best, which as it turned out supplied me with more than enough information to get started.

However the finished work is heavily abridged from what she boarded out (which could have easily been 3-minutes). Mind you she had no concept of the 180 degree rule and the general theme was a Husky discovering the Matsuri. I changed the theme to "Husky Yojimbo brinin' teh partay" while the chain of characters we meet remains the same.

Husky Yojimbo brings the party.
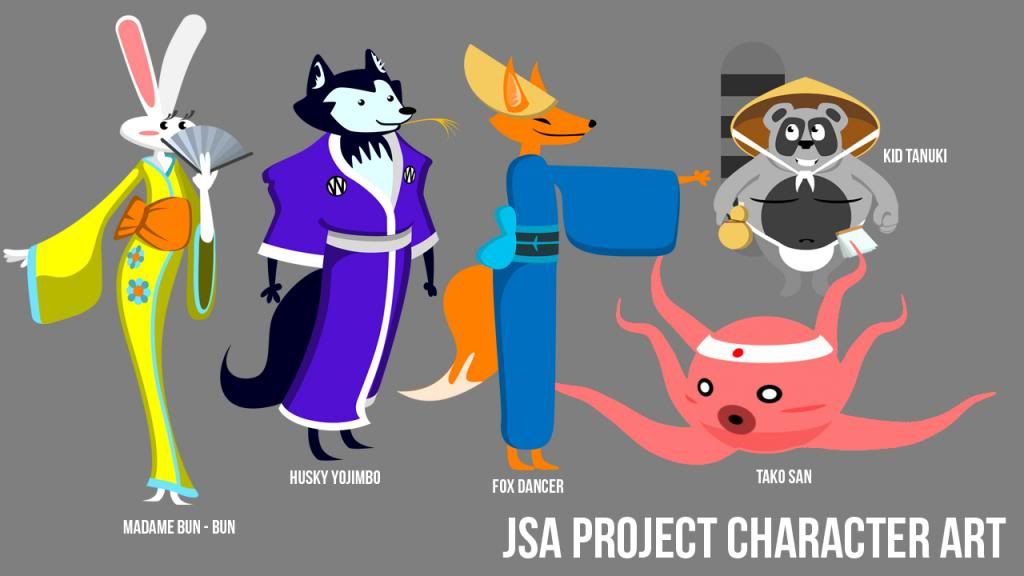
It was an interesting experiment to play on my unsuspecting sister. My initial motive was to get a feel for girly drawings - you know cute drawings. To see what someone else would come up with besides myself. I undoubtedly changed things when it came to make the actual art -however Madame Bun-Bun is the only character I actually made up. Years of Asian cuisine ads where women with paper fans laughing for no discernible reason had finally taken their toll.
 
Cast o' characters.
The uncool thing about this project was the deadline. The cool thing is that I'm now crazy fast. The cool thing about this project was rediscovering funny animal characters. The uncool aspect was my realization that I need to draw more. The cool thing is I'll probably be drawing more animals.

Yep, the continual act of juggling skill sets continue.

Friday, March 29, 2013

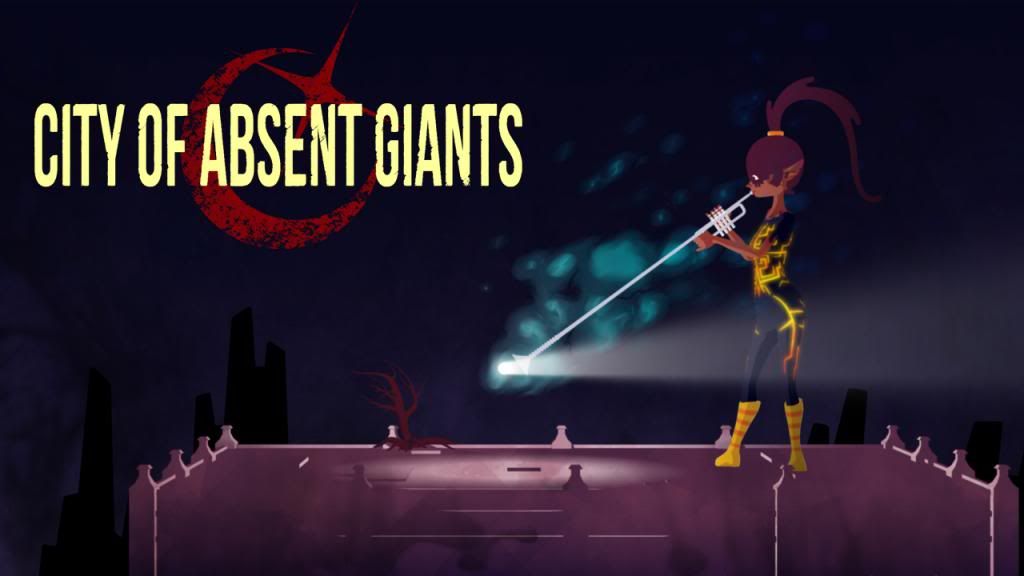
Update 3 / 28 / 2013 : City of Absent Giants


It has been far to looooooooooong since my last update. I've been up to a lot recently tackling my new film The City of Absent Giants. Most of the work below is subject to change.


Oknitide an inhospitable desert of shifting sands.

My motivation for making this film is simple. I want to tell stories in my films, but I have yet to actually tell one. I'm tired of animating one-dimensional mimes - I want characters that are fully fleshed out! So I wrote a script and concept in mid January and began production in February. The idea for the story occurred some 6 months prior.

I'm still making assets, but hopefully we'll get to some meaty animation.... eventually. >_<
The benefit is I'm doing things I don't ordinarily do.

The humans take shelter from the world in a structure built by giants.


Talitha discovers that the city is not really absent of giants.

The story is more conventional than stories I've done in the past. There is no random references to the I-Ching trigrams, neural networks, or anything convoluted and horrible.  It is oddly focused which is something that pleases me greatly.

Our giantess. Things happen.


In the weeks ahead I might post some concept art among other paraphernalia . If you have any questions or comments I'd like to hear from you.

Friday, January 25, 2013

Back from a Winter Break

4 - day simple short made during a cold front. Nothing fantastic, but it served its purpose as a quick fun project. Back to the big projects at hand!

Sunday, December 9, 2012

Updates!

After CTN I've been gone for a while, but now I'm back and better than ever!

The story is about a balloon finding its way in the world.

I give you the below entitled "Helium Head"


In other news my friend Thomas McNiece has posted the first trailer of his film "Nem Gate." I've had a loose association with the project for three years. It is interesting from my perspective how this film progressed. Just check it out:


For more information you can check out their respective Facebook pages:
facebook.com/NemGate
facebook.com/RadianHelix

Saturday, November 17, 2012

Saturday Morning Tips: Animation Setup in After Effects

At the time of this post (or at least what I intended) I am currently attending CTN, so I'm keeping it simple this post. I was asked a week ago how I animated straight ahead in After Effects.

In this post we'll cover how to block in After Effects - quick and easy:

There is a number of ways to approach animation in after effects - most of these ways are effective in their own right. However when you start making an ultra convoluted character and expect to animate it in After Effects like you would in Maya, Blender, Modo, etc - you hit a wall.

 Most techniques out there are fine for motion media types ,which is what After Effects does well. It's when you have 21 controls with about 3-10 attributes each, that is when you realize that you're not moving a square, but an army.

Also I'm not suggesting that you should have 21 controls on your character rig. If there is anything I've learned less IS more.

The setup is simple: for every attribute you need, the stopwatch must be toggled. You could use the auto key-frame, but I find it to be messy working with also I can't get to a default pose quicker.

When your done toggling: select these new keys, right click, and go down to toggle hold keyframe.


This will turn the linear keys into easy-in holds. Note: If there was a linear key before the easy-in 
hold it would tween to a slow stop. Anything after the easy-in hold will be a true hold, however this isn't anything to stress over.

After creating all these holds I usually tuck these keys one frame left of zero. This way I can quickly reference the default pose if I need to call it up.

After I have done this I block, and I make sure to alter everything on each pose - insuring order. You want to know that everything is keyed on frame x, frame y, and frame etc.

However it is wise to adjust the resolution before you start:
You'll need to manage both the work space's resolution and the preview's resolution.
Go to the resolution tab and go down to custom:


Here you can adjust for every x pixel horizontally and vertically, that pixel will be rendered as opposed to all of them. This will save on render and playback time as you fine tune your animation. When you feel like it is ready for the final cut be sure to boost it back to full res.

Those were a few quick tips to get started - I hope they were helpful.

Saturday, November 10, 2012

Saturday Morning Tutorials: 360 Head Part 3

A little belated, but it is still Saturday:

This is more or less the last part of my Tutorial on how to make an expressive rotatable head.
I'll go more in-depth on controls and animation process in the weeks ahead. Please refer to previous tuts concerning track mattes and hooking up expressions to controllers - In the interest of keeping these short I'm not repeating myself.


The parts are a face plate, nose, bangs, hair, and a buckle - some bit of hair that connects with the bangs in front and the hair at the back of the head. It is not necessary to color or texture the hair, maybe tint them differently to know which is which when adjusting, but the only thing that is important is their shape.

The pieces are simple, but must be designed with some care. However the process is not at all mysterious just expect to go in and out of After Effects until you achieve the desired effect. This is also true when it comes to displacement maps (we'll get to those later).

First be sure to duplicate your eye comps from the last tutorial.  Be sure to flip and rewire it, so it works like the original, but separate from it. You will then have both the left and right eye. 

Make a composition for the head and place all your parts inside. Select the parts pertaining to the face and pre-compose them. Example: (face, nose, eye_lt, eye_rt, and mouth) 

Simply arrange your face how you'd like it to be. After that it is time to go back to the head layer to apply FreeForm to the parts of the head.  Be sure to have your displacement maps in the same composition with its visibility turned off.  If you made your displacement map in the same comp within After Effects be sure to pre-compose it (explained further below).

Here's a short run down of FreeForm's attributes:


You can make domes, half-domes, and saddles easily enough with displacement maps. Don't try making a sphere with FreeForm. Now what in tarnation is a displacement map? You may be wondering - well they look generally like this:


There is only one rule: white advances, black recedes.
If you get tired of going back and forth from Photoshop like me you can make a map within after effects. Just be sure to pre-comp it so FreeForm can read it as a flat image. With this knowledge you can also make waving flags and turbulent surfaces.

Once you think you understand the above you get this:


Our last problem is how to overcome FreeForm layer stacking issue. FreeForm still obeys the layer stack of your composition. Unlike After Effects' default 3D layers that can obscure other layers no matter the layer order. Freeform does not recognize other layers with FreeForm on it. Now how do we solve this pesky layering problem within FreeForm?


Simply upload a small PNG file with nothing on it save for 100% glorious transparency.
Place it in the head composition and reference it in FreeForm's backside controls. There the ugly unwanted backside is gone!

If you happen to want a bit of the backside wrapping around the face just duplicate - the bangs for instance and put it behind the face.

The last step is inserting a few flat gradient layers. Make them into alpha mattes and the hair should blend seamlessly together. Doing this will also reduce how flat the character looks.

There isn't a real cut and dry step by step theory of getting this right - only through patience and perseverance can you get this working. These tips should guide you in the right direction.


Saturday, November 3, 2012

360 Head Tutorial Part 2: Eyes and Mouth

This is part 2 of my massive After Effects tutorial on how to create an expressive rotatable head.

In this part we'll discus the eyes and mouth.

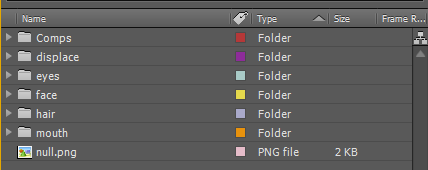
It is important to keep everything organized while working in After Effects. Give your files and folders appropriate color tags to differentiate themselves from each-other. Also it would be wise to tag compositions based on the file majority's tag color within that comp.


When in the composition window you can find the tag color by typing it into the search bar.

Also by right clicking the tag color you can choose to select all layers of the same color.


The parts needed for a simple eye are as follows:


Now you don't really need two identical eyelids in hindsight you just need one of each piece. I just wanted to slap this thing together without any unnecessary adjustments. We only need to make one eye then we duplicate the composition, flip it, and change the code a bit so the clone functions the same way.

From right to left this is how our tutorial will go:


So first things first slam the pieces for the eye in its own composition titled "eye." Align the eyelids so that they are just above and below the eye shape proper. Like so:


Select those two eyelids and pre-compose them, ( CTRL + SHIFT + C ) title the new comp "eyelids."

Now duplicate the eye shape and place it above the eyelids. Place these two layers above everything else. Go under the Track Matte Tab on the eyelid layer and choose alpha matte.


An alpha matte functions the same as a Photoshop clipping mask only the layer stacking is reversed. This is also how we make the mouth so keep this in mind - It's important.

In effects and presets under distort there is a filter called "Bulge." Throw this filter on to the eyelid composition.


I've moved the lid in a little to show it distorting -  making it appear to wrap around the eye. It goes without saying to play around with the settings until you are satisfied.

The next step is to create a null object - I use these to help drive things. Place this new null object at the center of your pupil. Then toggle 3D layer on both the pupil and the null object.


Pull the null object away from the active camera view. Make the null a parent of the pupil - we're creating a pivot for the pupil. Play with the null's rotation to see if it looks like a ball rolling in a socket. Test until you get it right. 

Pupil rotation tests

Duplicate another eye shape and put it above the pupil to make another alpha matte.

Now for the eyebrow - to get it to be all smooshy I don't use puppet pins - I use the warp filter. Add two warp filters on to the eyebrow. Now why two of the same filter? This is because I want to control the two differently.

One warp style is arc and the other is bulge. Arc gives a generic vertical bend through the center. Bulge can offset the center of this bend and sharpen one end of the brow. The only reason I don't use arc's horizontal distortion is because it appears to twist the eyebrow.

See the example:

Eyebrow Examples

The thick highlight is going to be the input for the controls of the eyebrow. Now that takes care of basic setup - It is time to understand a few basic expressions that we can output from a controller.  Make a temporary controller - create a new null and zero out its position.  Pre-compose everything save for the eyebrow and your new null controller. Name the new comp "eye scale" and let's start hooking things up.

Add a slider from the expression controls to your null object. You'll need 7 sliders at most (just hit CTRL + D to duplicate) and rename them: Pupil Scale, Brow Bend, Brow Center, Brow Horizontal, Brow Vertical, Top Lid, and Bottom Lid.

Separate the layer palate like so:


This will make pick whipping a whole lot easier.

ALT + LMB on any animation stopwatch property on any layer will get you an expression prompt. This is how you will come to drive objects in separate compositions and link everything.

This is what it looks like:


Pick whipping an expression is just like regular parenting only across multiple compositions.
This is what the eye looks like all hooked up:
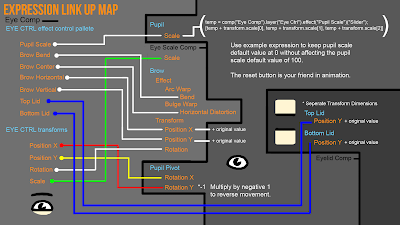
Expression Link Up Map
*To separate dimensions just right click position and select separate dimensions.

I've annotated this picture so you know what needs special attention. Otherwise it is happy pick whipping time! Despite the terrifying image this is easier to follow over me doing this step by step (also not nearly as dull).

A few noteworthy expressions need some explaination:

+ Original Value
 Say you got a layer with values already applied to an attribute? If you pick whip the value the controller gives you - it will override the attribute's value. To counter this type the original value at the end with an addition symbol in-between.

For example:
thisComp.layer("eyeCtrl").effect("Brow Horizontal")("Slider")+250
 This keeps the controller at default values - which is better than opening the rig starting at a number like 34.5. Most of this is to help the animator animate without getting confused.
*-1

This reverses the math. The expression tag essentially states, that I'm multiplying negative one. A common example is the eye. You have a division between the two-dimensional position values of the controller and the three-dimensional rotational values. Y rotation is not the same as Y position so controlling it is awkward.

To solve this I for one flipped the math (*-1), and secondly switched y positon with x's rotation. Forcing it to behave more like a position than a rotation.
Here's how it should look bear in mind the names in parenthesis are dependent on what you named your layers:
comp("eye_rt").layer("eyeCtrl").transform.xPosition*-1
This next expression is helpful in dealing with the pupil.
Scale Pupil is a slider under the effects attribute of the controller that I had you create.
Its default value is 0 there is a reset button above this value - it is REALLY helpful when animating.
This is how to keep Scale Pupil at 0 while keeping the layer pupil to stay at the default 100 scale value:
temp =comp("Eye Comp").layer("Eye Ctrl").effect("Pupil Scale")("Slider");
[temp + transform.scale[0], temp+ transform.scale[1], temp + transform.scale[2]]
The lower bit adds the original value with the new value from the controller.
Temp is essentially the incoming value from the controller. 
Transform.scale[0] is equal to the original scale value of x, [1] = y, and [2] = z.

That basically covers the eye. On to the mouth which will be shorter than the above.

Parts you'll need:


 Make a new composition and throw these bad boys into the mix. Most of what I already taught you should be apparent in the construction of the mouth. The smaller black open mouth shape is the alpha for the tongue, chompers and uvula's alpha mattes.

The closed mouth is just the same as the eyebrow with two warp filters. The same is true with the open mouth only the tongue, chompers, and uvula is static. 


The real mystery is how to replace layers. Toggling these layers visibility and easily key framing it in a single abrupt change. The secret is through the check box expression control. The great thing about this control is that it only has stepped key frames.


However the check box's value when activated is only 1. If I was to hook it in to a layers opacity and activate the box it will only give me 1 opacity. To make this useful tag this at the end of the expression:

*-100

There you can now use the check box for something useful.

This is how the layer stack looks when completed:


In our next tutorial we will begin the head. Till next Saturday! I know I didn't state that in the first post, but every Saturday I'll post a tutorial of some sort.

If there is any questions or requests feel free to leave a message.

Head Tutorial:
Nimbus Link: First Post
360 Head Tutorial Part 1: Design
360 Head Tutorial Part 2: Eyes and Mouth
360 Head Tutorial Part 3: The Head